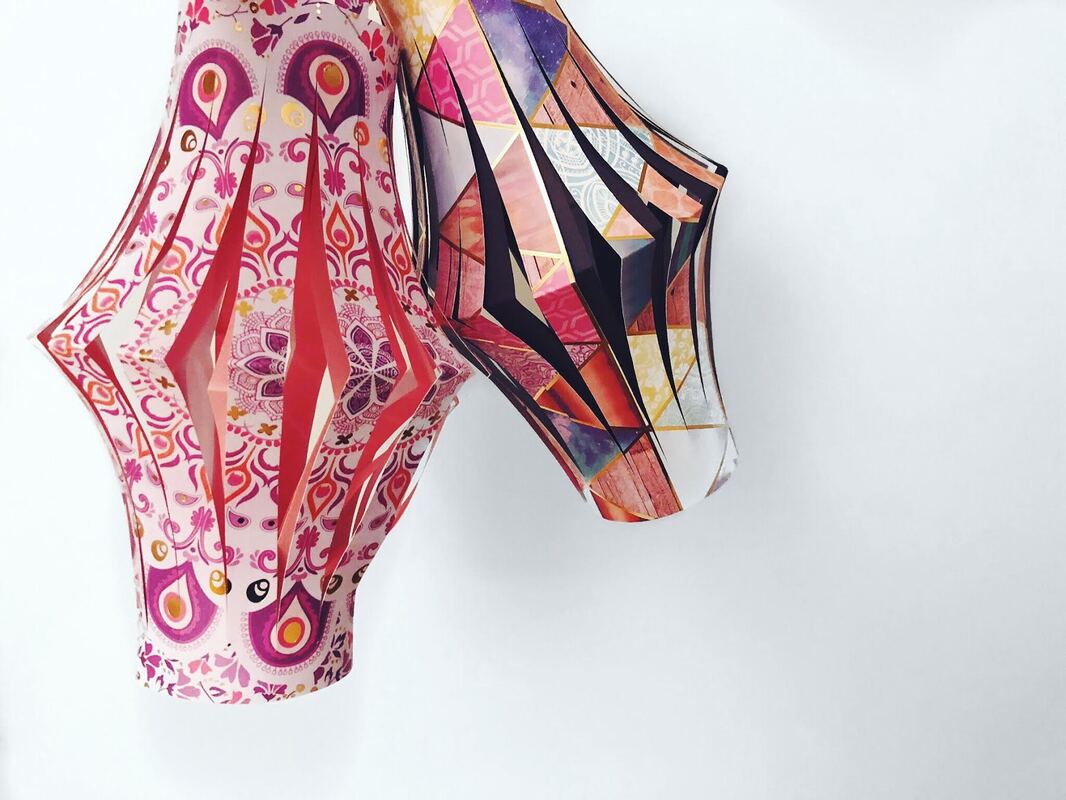
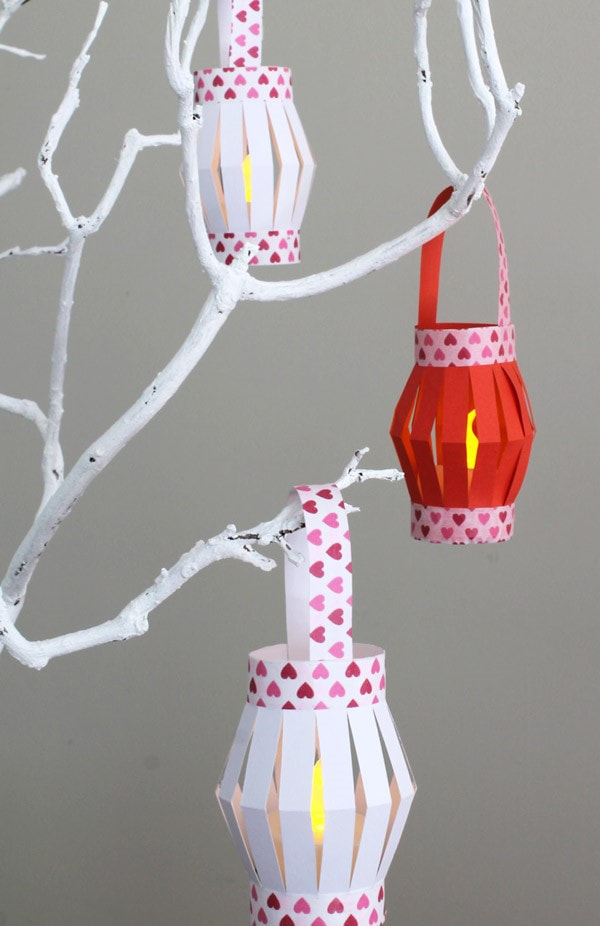
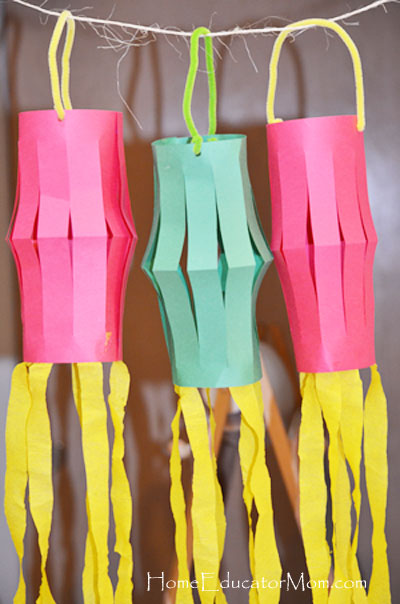
MAY 2020 PAPER LANTERNS are fun to create! You can use a variety of different size papers and different types of paper. You can try construction paper, scrap booking paper, wrapping paper, drawing paper, magazine covers or magazine paper. It is fun to try different papers and if a paper seems too thin--try gluing a paper behind it before you start to just give it a little more thickness.
|
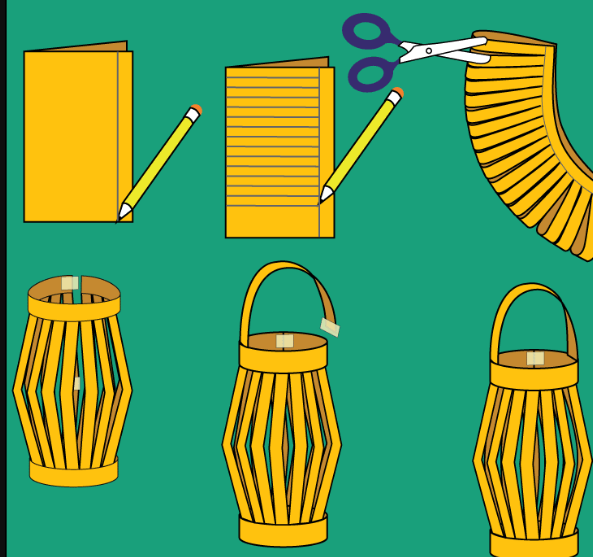
1. Take your paper, fold it in half, you can draw a line about 1 and 1/2 inches from the OPEN end to guide you. Then cut lines ( you can draw these first too) on the fold to the line at the open end of paper. This is the same way we cut our paper for a paper weaving. You have to start at the fold and make sure you do not cut to the end of the paper. We want this to all be one piece of paper when we are done.
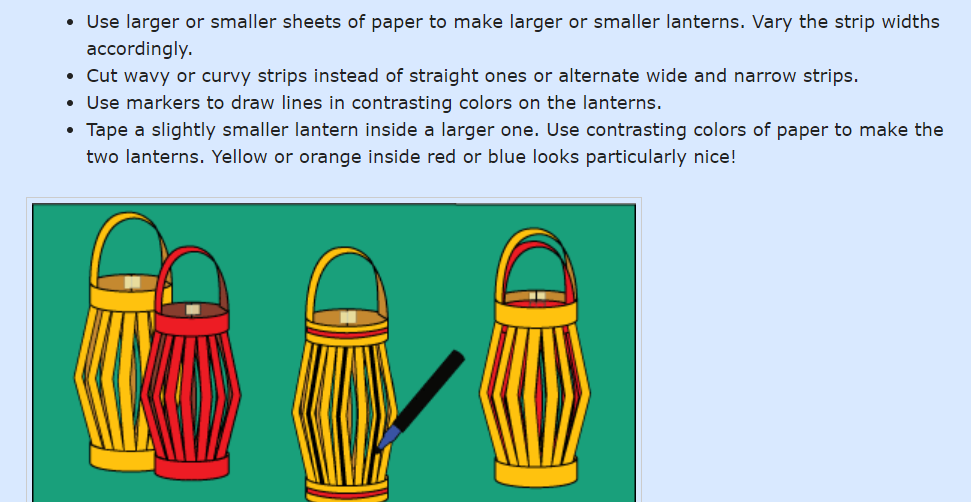
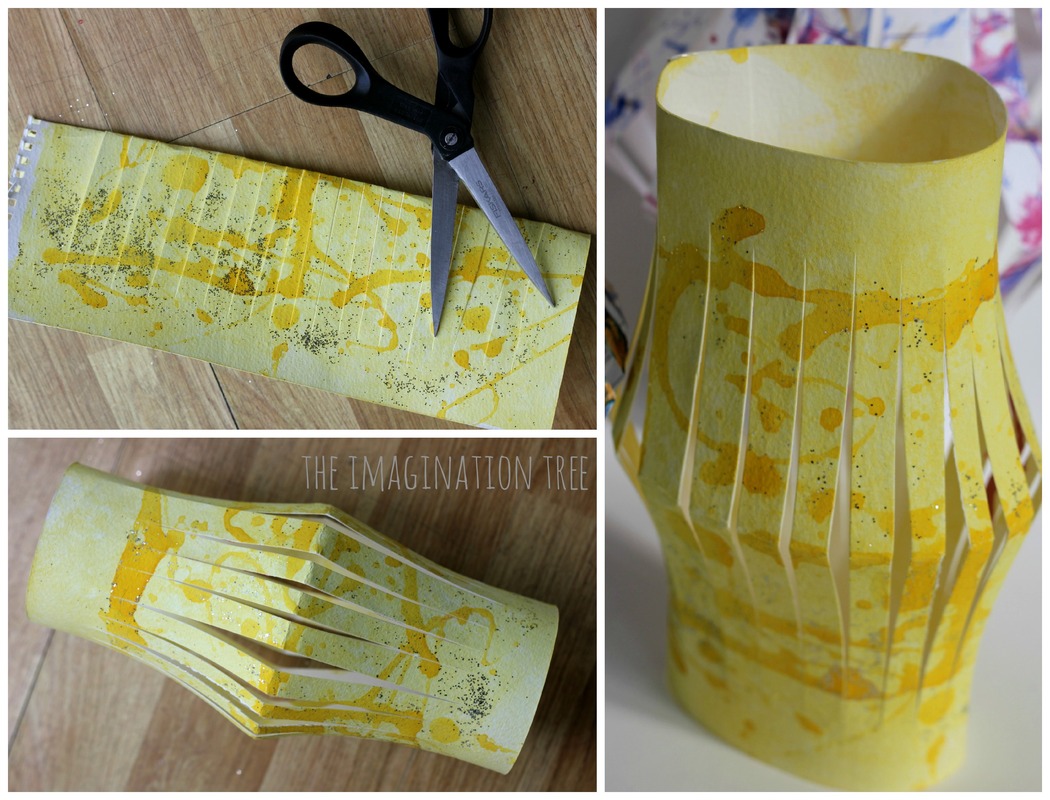
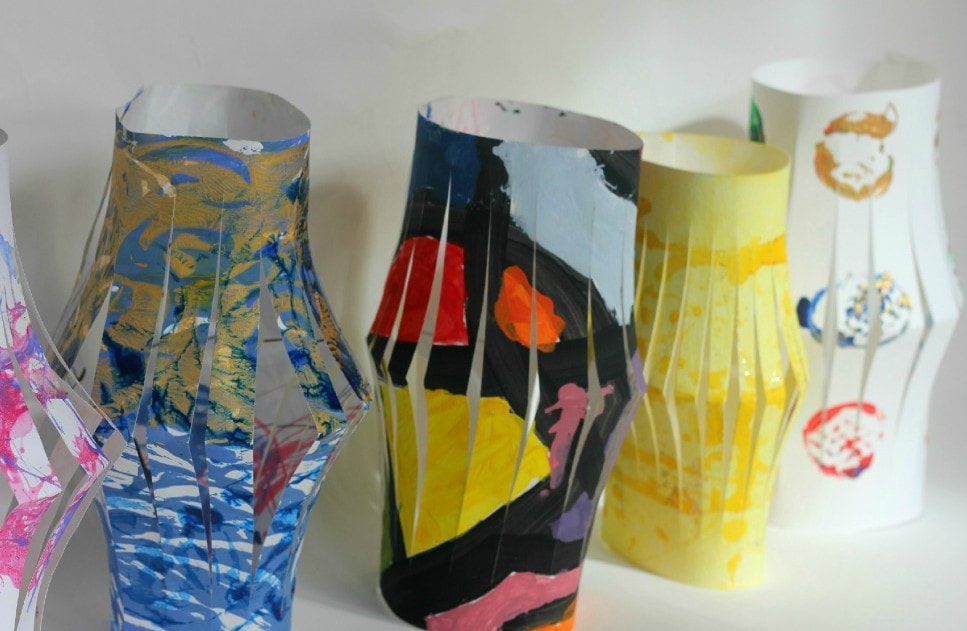
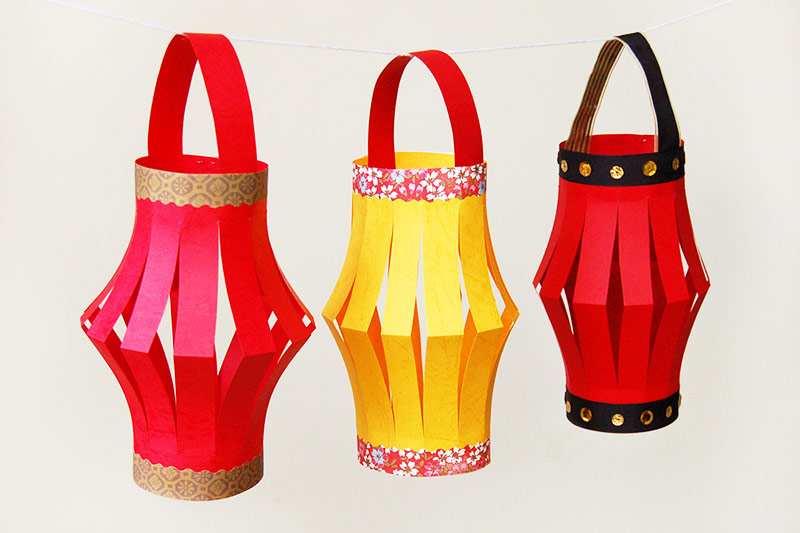
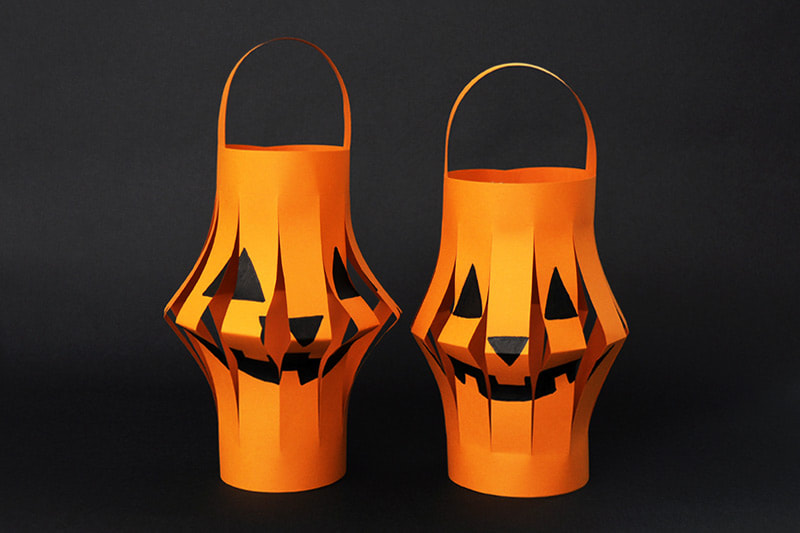
2. See how the paper looks when you open it up after cutting. When you bring the sides together it forms the lantern--the fold becomes the center of the lantern. Glue, tape or staple the sides together. 3. You can see what it looks like to add a handle to the lantern--attach with glue, tape or staples. 4. Now you know the basic steps to make a lantern! You can get creative by painting or drawing on your paper first --maybe you have a drawing you can use. Or, you can add paint or torn paper pieces after you make your lantern. You can use what supplies you have--look at some of the lantern samples. Make a group of lanterns and create a garland of lanterns or a fun table decoration! I love projects like this that use simple materials that we may have at home! Send me photos!!!!! |
|

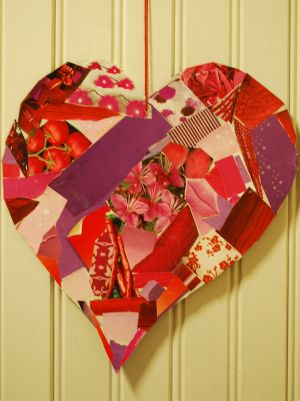
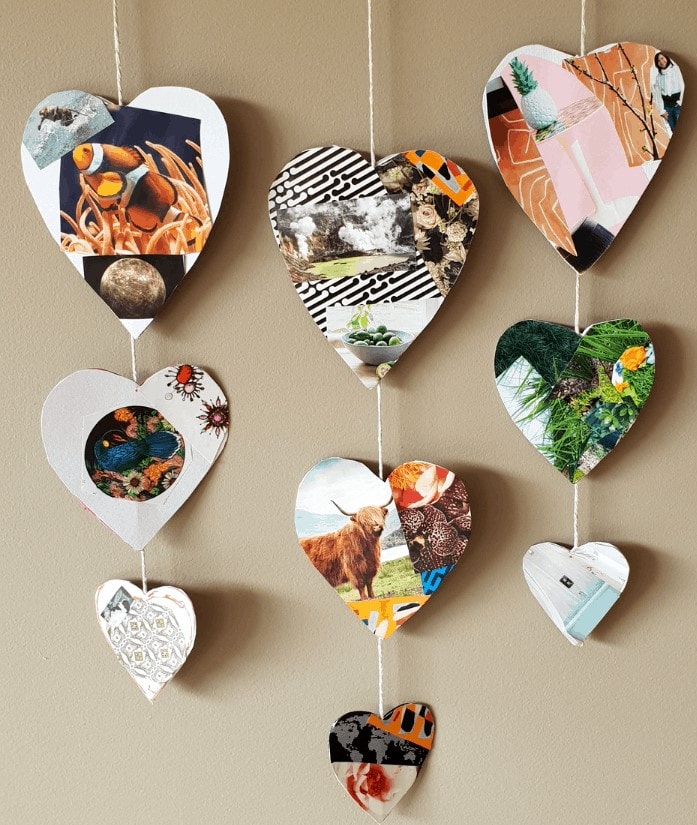
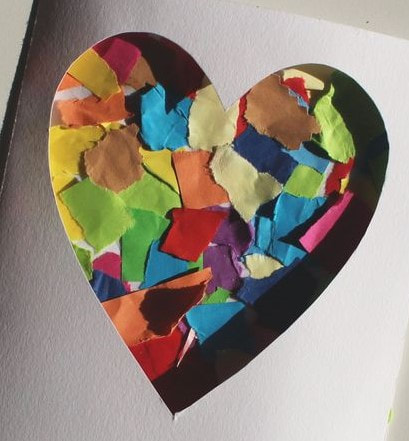
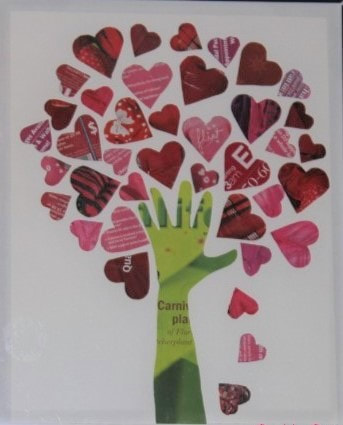
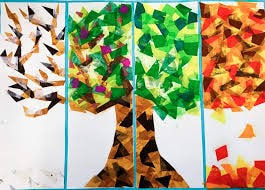
MOTHER'S DAY ART These photos show recycle ideas--collage, hanging hearts and even tracing your hand and arm to form the trunk of a heart tree. You can use these ideas to create your own special Mother's Day art. Create a card or poster and use materials you have at your house. Have fun--be creative, combine ideas and add new ideas!!!!!!
|
|
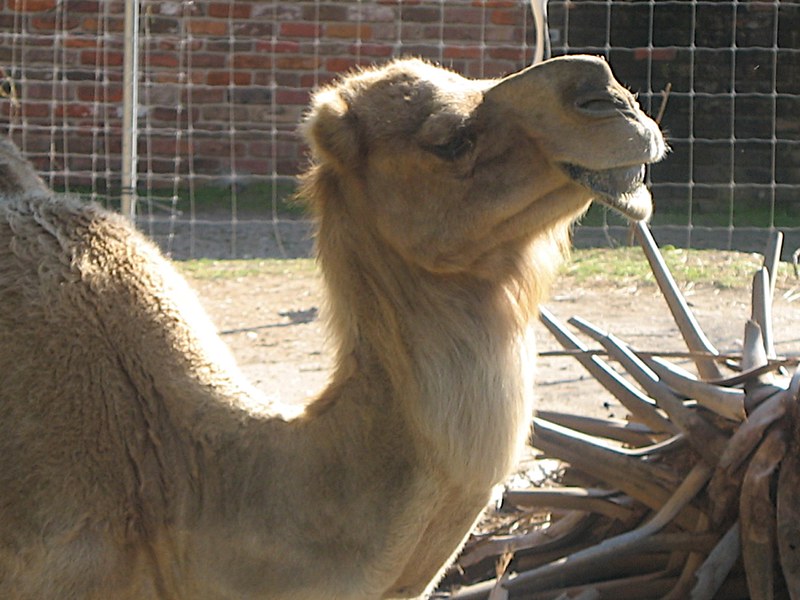
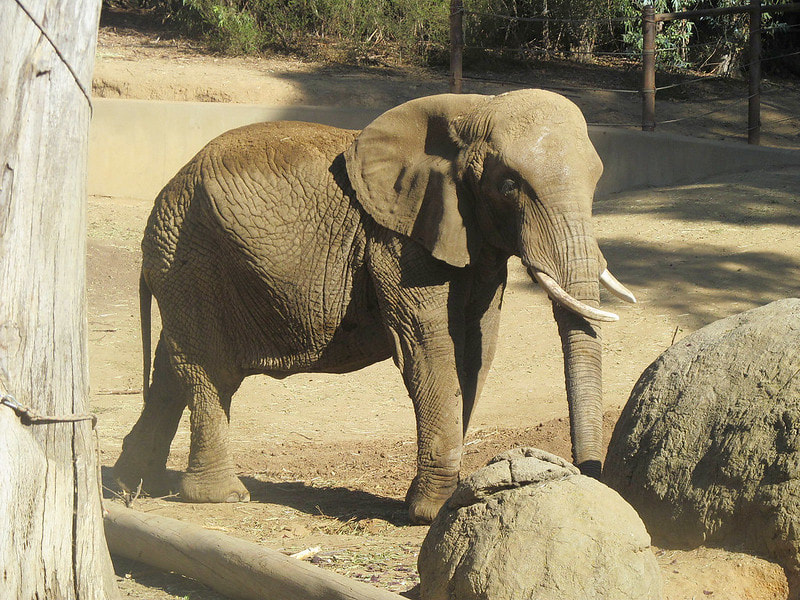
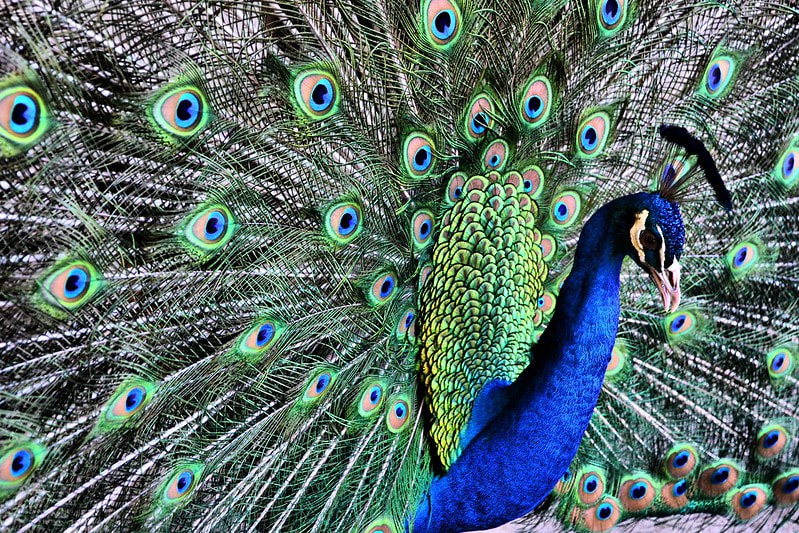
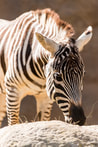
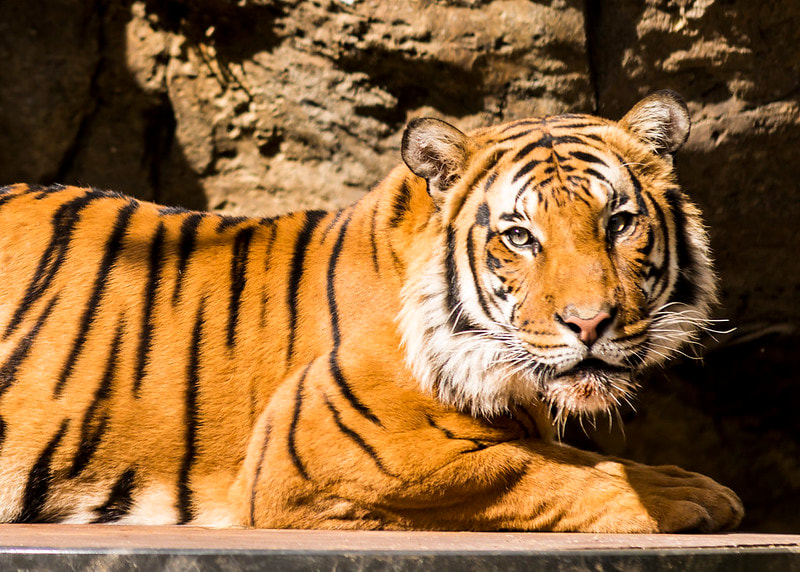
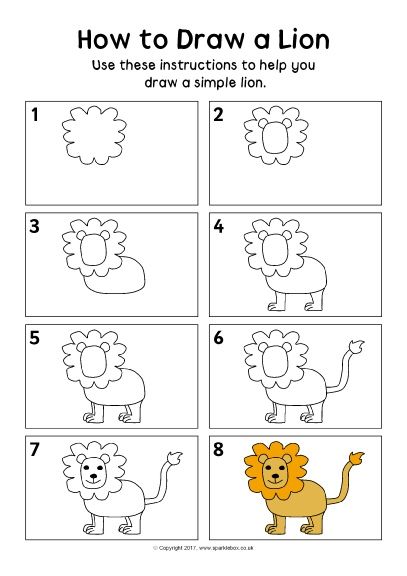
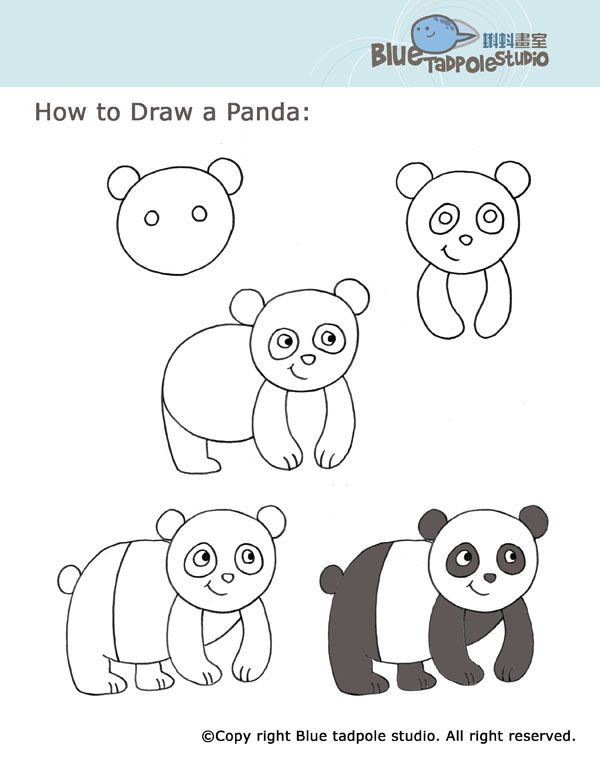
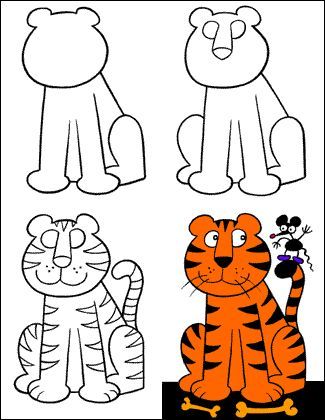
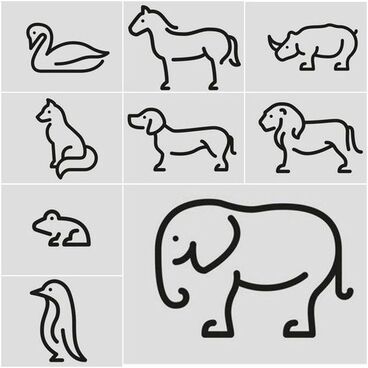
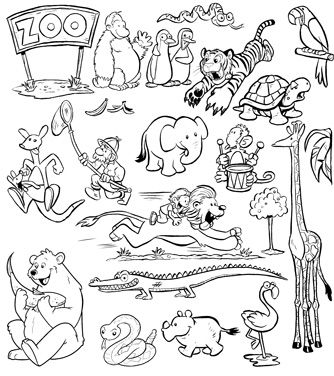
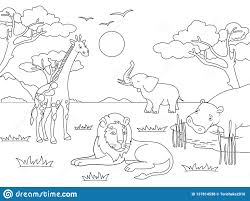
ZOO ANIMAL DRAWING 4/27
|
|
|
|
|
Atlanta Zoo Panda Cam https://zooatlanta.org/panda-cam/
Smithsonian Zoo https://nationalzoo.si.edu/webcam
- Go to the Zoo websites, or look at books you have--- or images on the computer --- decide which animal you would like to illustrate and gather materials:Sketch book, or any paper you have
- Pencil, colored pencils, crayons, markers, chalks, oil pastels or paints.
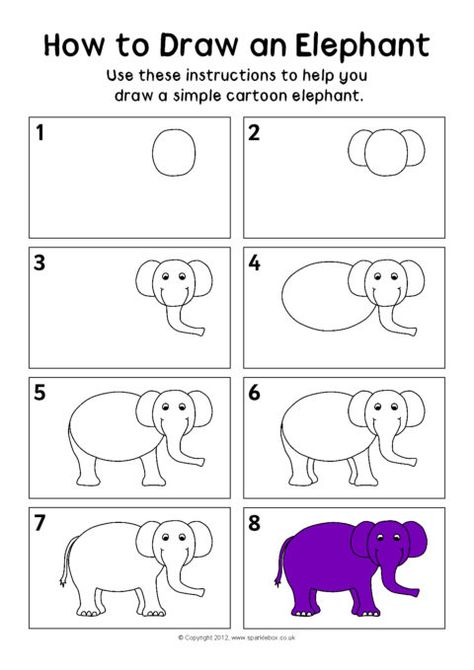
- Practice drawing animals with basic shapes
circle, or triangle
Organic shapes----free-form shapes that do not have a name, like a puddle of paint
- Use a piece of paper (could be recycled paper such as brown bag).
- Draw your animal large filling the paper to make an interesting composition--- add details to create textures and patterns. Your animal can be realistic or fantasy—you choose the colors. For example, a gray elephant would be realistic and a pink elephant would be more imaginary---have fun!!!!
- Draw in the background of the animal’s habitat, again—realistic or imaginary.
Collage an animal with torn or cut recycled paper. Be creative!

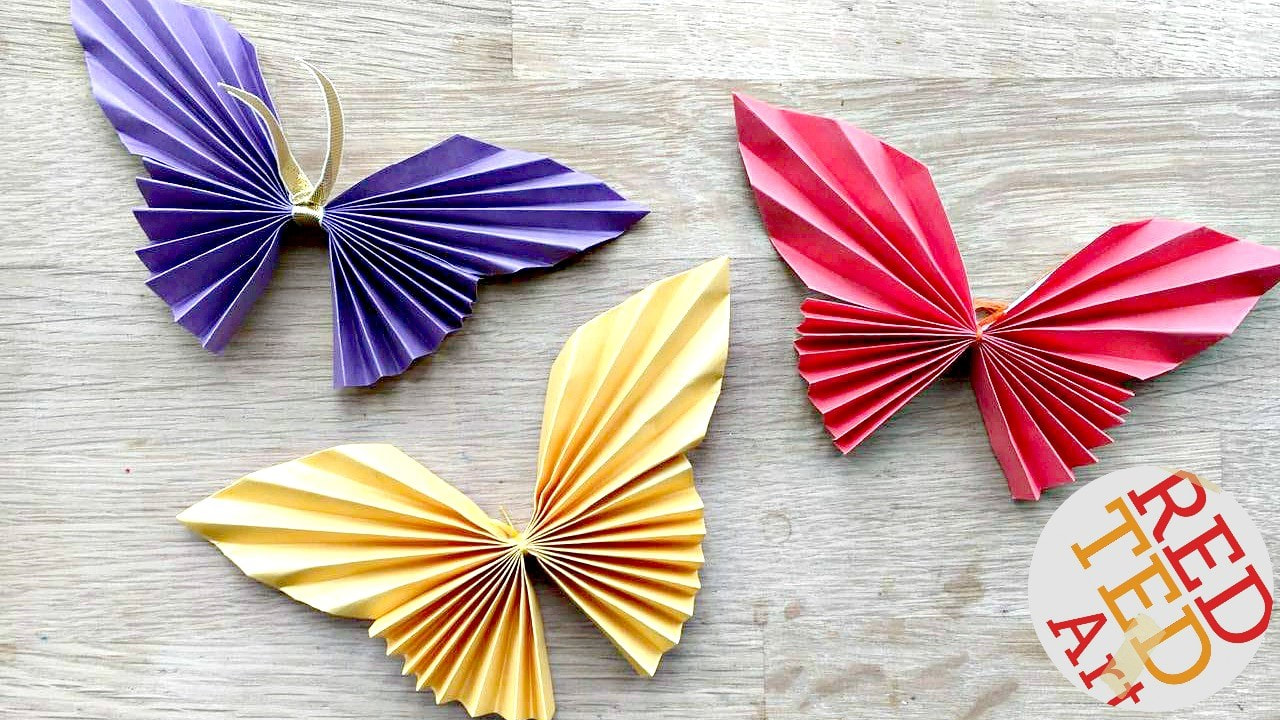
RECYCLE BUTTERFLY at home learning/April
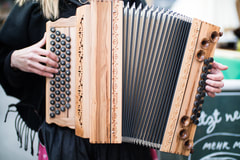
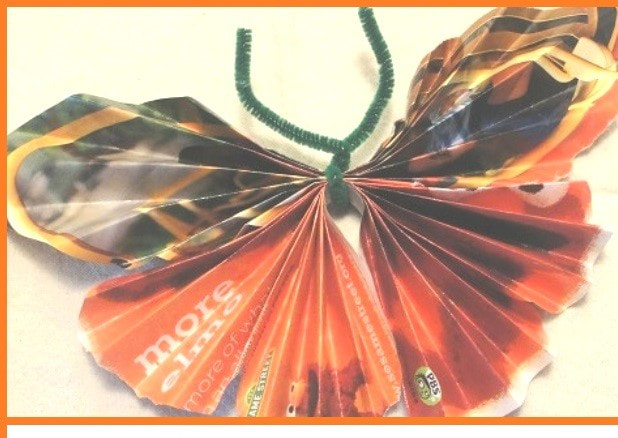
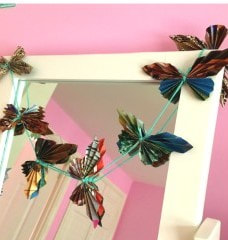
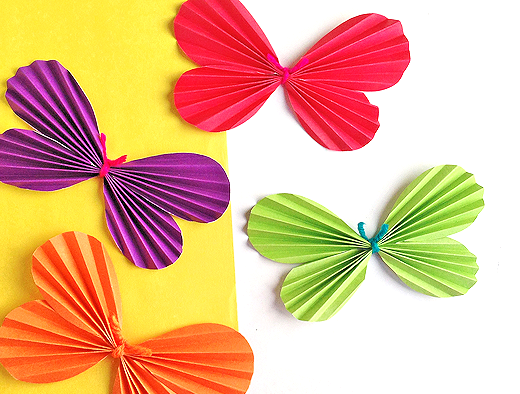
This paper butterfly is a great way to follow a simple pattern and introduces the basis of origami using the accordion fold. The accordion fold uses a back and forth, stair-step fold and is named for the accordion instrument that it resembles, see the photo of the accordion here. This project can be made with any kind of paper you have including magazine or junk mail papers. It is a great project to try with multiple, different papers. You can also change the size of you butterflies. The main thing is to use a slightly larger piece of paper for the top wings and smaller for the bottom wings. You can fold back the edges of the top papers to get a pointed edge or cut a point. Another choice is to cut oval papers for a rounded edge of the butterfly. Look closely at the samples below. Attach the upper and lower body pieces with a string, pipe cleaner or even the twist tie from your bread (those are great to save for art projects!). You can string the butterflies together to create a garland for your house. It is amazing the beautiful things we can create by recycling! When using magazine pieces, wrapping paper, ads, old cards, whatever you find---notice how the colors of the paper create unique and unusual designs on the butterfly once they are folded! I would love to see photos of your work! My email is: [email protected]
MATERIALS: assorted papers, scissors, something to tie with: string, ribbon, pipe cleaner, twist tie, etc.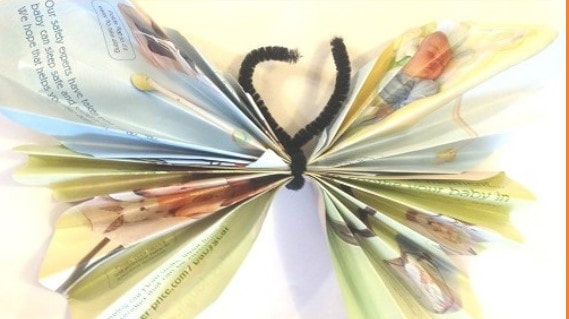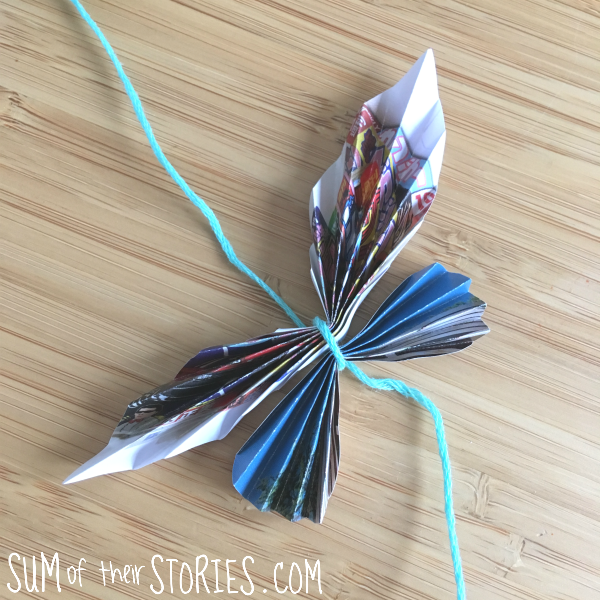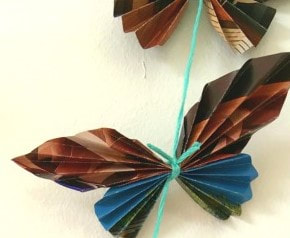

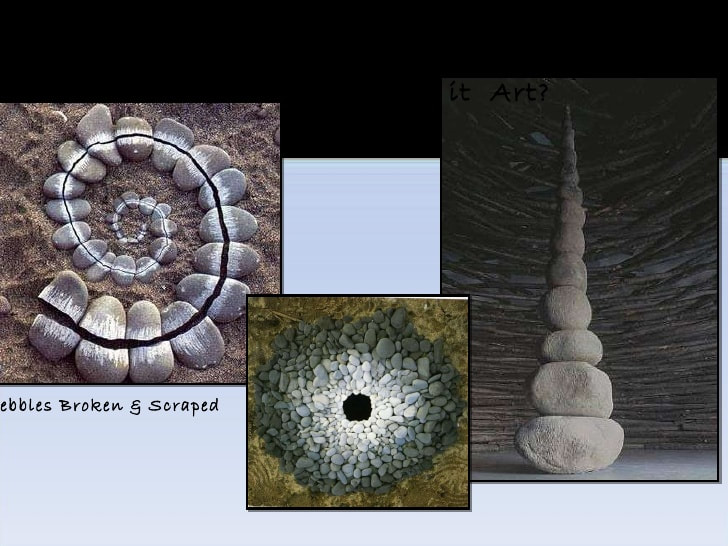
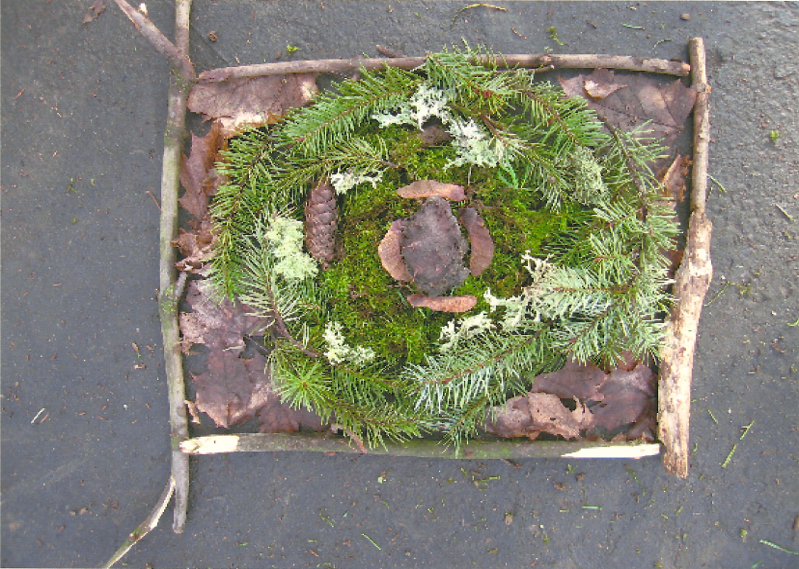
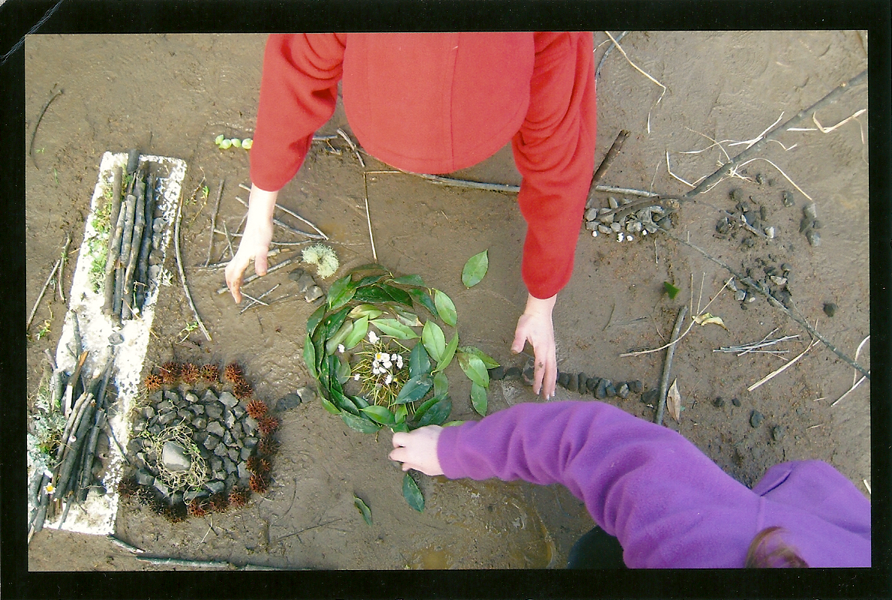
Exploring Art: Andy Goldsworthy Post 3
- Andy Goldsworthy is a key artist in the “Land Art” movement – creating temporary art by working with nature.
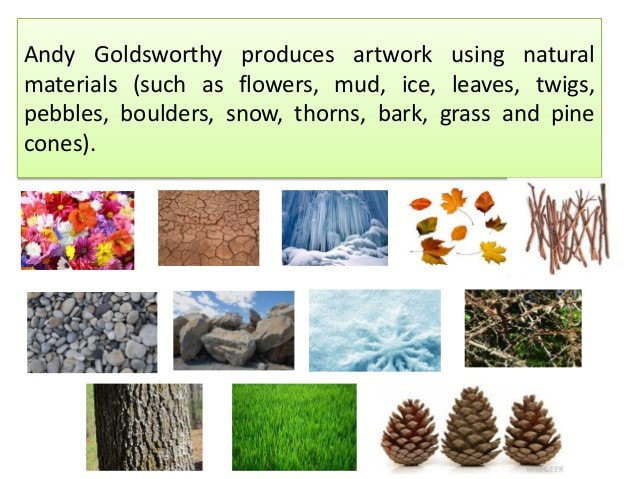
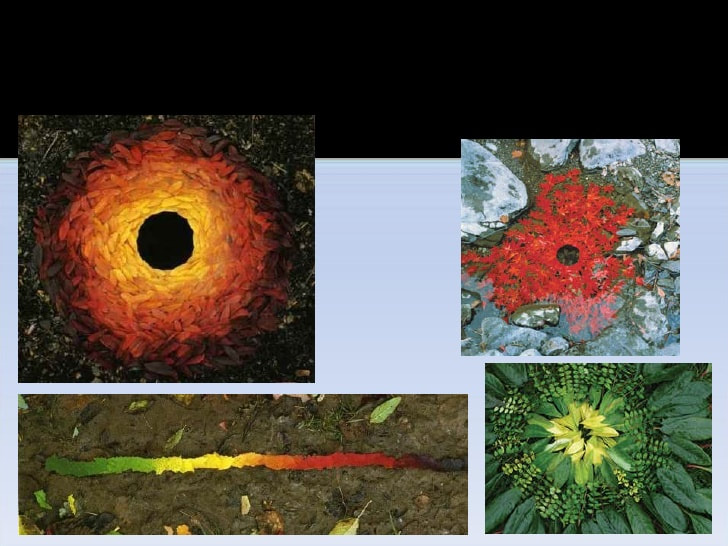
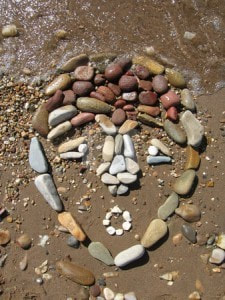
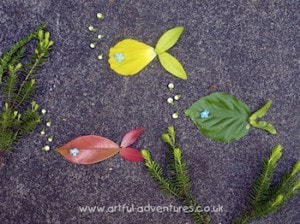
- Goldsworthy produces artwork using natural materials (such as flowers, mud, ice, leaves, twigs, pebbles, boulders, snow, thorns, bark, grass and pine cones).
- Much of his work is made outside and is meant to be temporary. He photographs the artwork and then allows it to remain in the natural environment and decay at its own rate. Sometimes he photographs the same work in different conditions.
- Goldsworthy says he ‘works with nature as a whole’ and sometimes he often doesn’t use man-made tools to produce his sculptures.
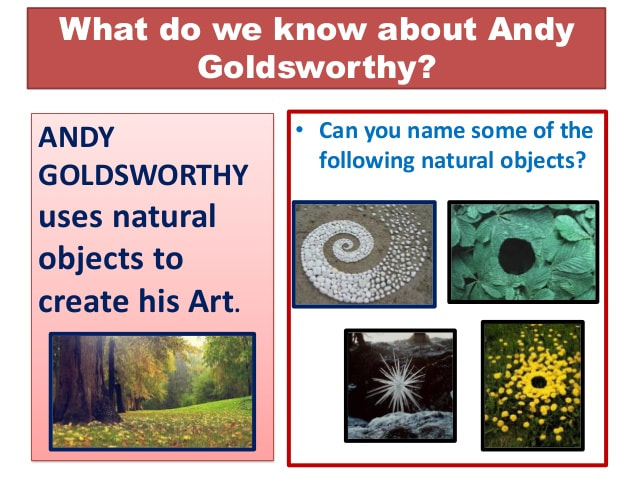
You can take inspiration from Andy Goldsworthy's art to make your own art!
email me at---- [email protected] I would love to see your work !
- Use found materials ---- use what you can find on the ground, like branches, leaves, stones, etc, use all natural materials.
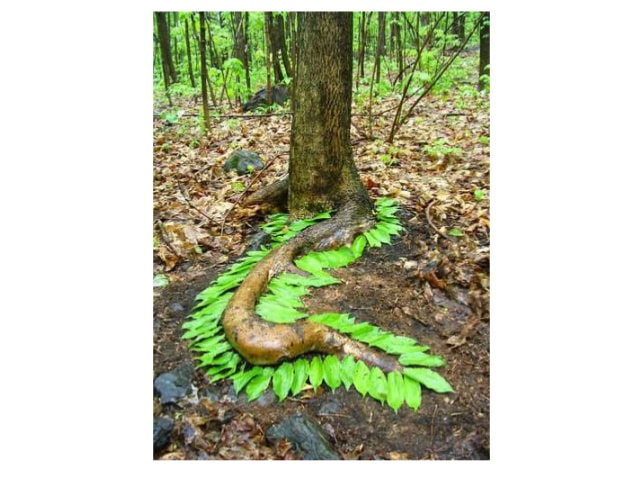
- You can make any kind of art you want. You can create natural collages on the grass, weave branches and fallen bark, or follow one of the artist's examples and create a rock sculpture.
- When you are finished take a photo of your art, you can check on it in a few days to see if it changes, this will depend on the type materials you use.
- Write about your art and the process you used to select and arrange materials---what does your art represent---how did you feel gathering materials and creating your art--- did you have an idea when you started or did you get your idea as you found materials-----how could you add to your art or create another outside art work ---- all things to think about!
email me at---- [email protected] I would love to see your work !
POST 2---- Week of March 23
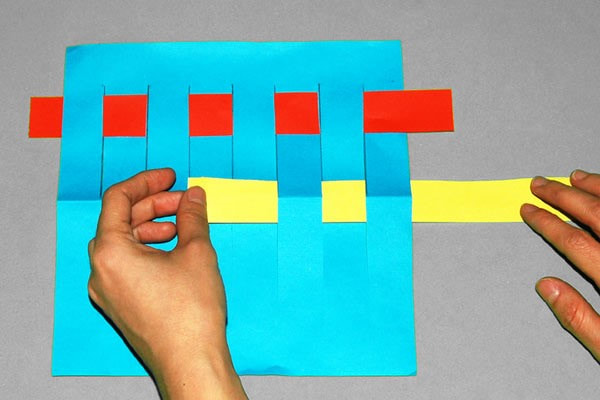
Paper Weaving Review
Look at the photos below to guide you through setting up a paper weaving.
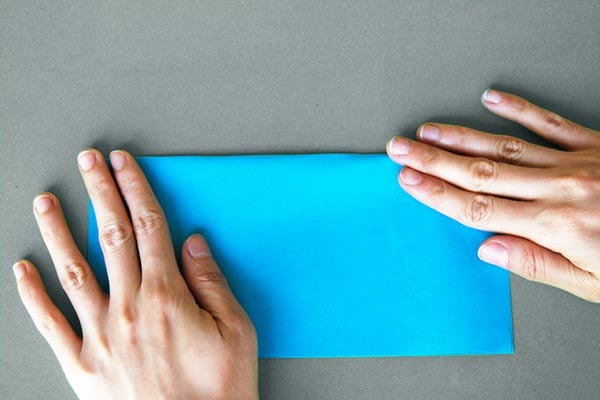
Fold your paper in half and have the mouth of the paper (where it opens) face you.
Place a ruler at the bottom edge of the paper to hold the mouth closed and draw a line across.
This very important line becomes your stop sign---you never cut pass this and keep the paper folded when you cut .
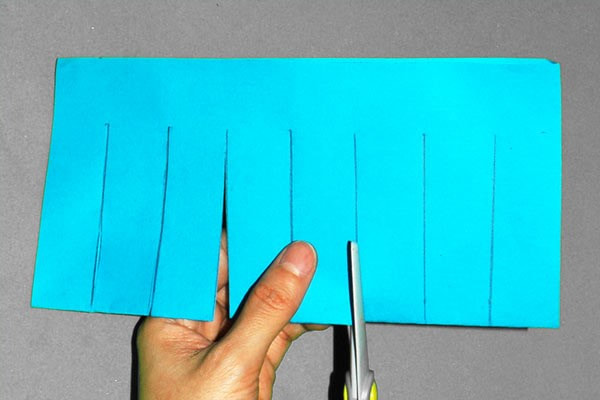
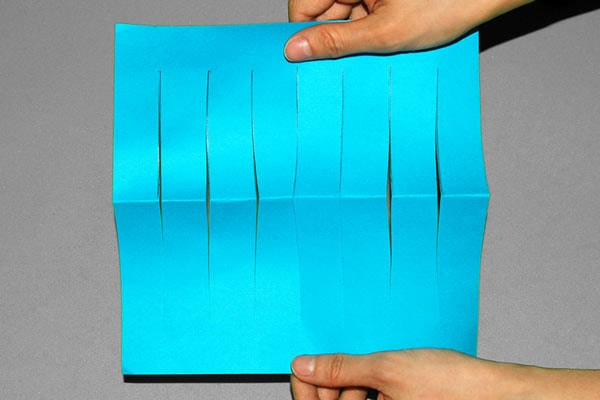
To cut begin at the fold and cut to the line (your stop sign)
You can experiment with how far apart you place your cutting lines. For the first time, don't put them too close and use a ruler! The second time you can place cutting lines closer and even try some wavy lines. It is best to draw the lines before you cut.
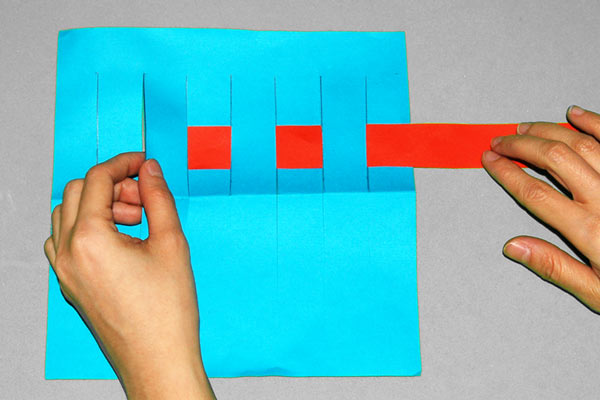
Prepare strips as long as your paper to use for weaving. You can use any kind of paper, junk mail, scrapbook paper, brown bags, ribbon, fabric scraps, construction paper, tissue paper----just experiment and even try a combination of materials.
Weaving follows a simple over / under pattern. the second row is the opposite of the first row. The third row is the same as the same as the first row and you keep alternating to create a "checkerboard pattern".
Paper Weaving Review
Look at the photos below to guide you through setting up a paper weaving.
Fold your paper in half and have the mouth of the paper (where it opens) face you.
Place a ruler at the bottom edge of the paper to hold the mouth closed and draw a line across.
This very important line becomes your stop sign---you never cut pass this and keep the paper folded when you cut .
To cut begin at the fold and cut to the line (your stop sign)
You can experiment with how far apart you place your cutting lines. For the first time, don't put them too close and use a ruler! The second time you can place cutting lines closer and even try some wavy lines. It is best to draw the lines before you cut.
Prepare strips as long as your paper to use for weaving. You can use any kind of paper, junk mail, scrapbook paper, brown bags, ribbon, fabric scraps, construction paper, tissue paper----just experiment and even try a combination of materials.
Weaving follows a simple over / under pattern. the second row is the opposite of the first row. The third row is the same as the same as the first row and you keep alternating to create a "checkerboard pattern".
|
There are many videos on utube for simple paper weavings that you can explore with a grown up. On your own you can cut your paper into a fish or heart shape and create your loom by folding in a center area and making sure to leave a border on each end to hold the loom together(your stop sign). If you use paper with writing on it, you may get some very unusual patterns, so do try to use some recycled papers!
|
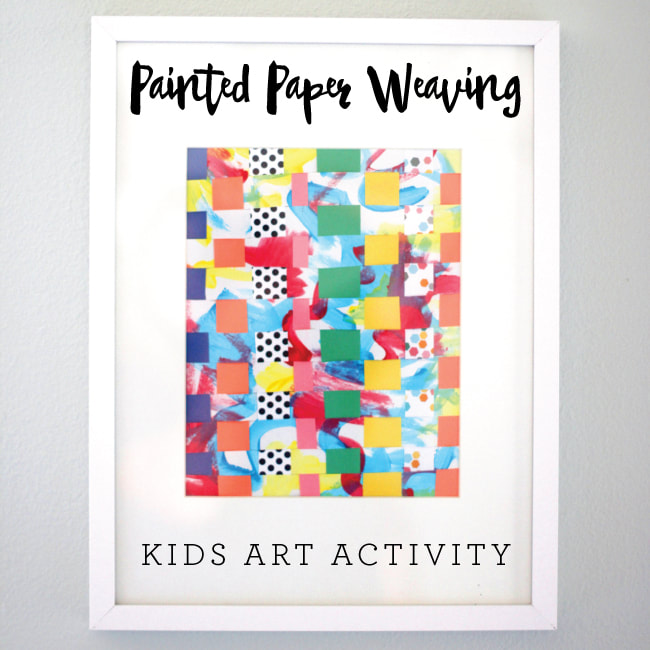
TRY COLORING OR PAINTING YOUR PAPER STRIPS AND WEAVING
You can also change your design by going over 2 strips and under one. Try different combinations and patterns Experiment with your design! |
|
POST ONE----Week of March 16, 2020
This art activity aligns with the third grade PBL involving recycling. You can email me a photo of your finished work if you like! I would love to see it! 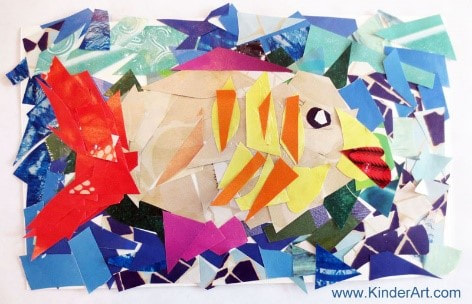
|
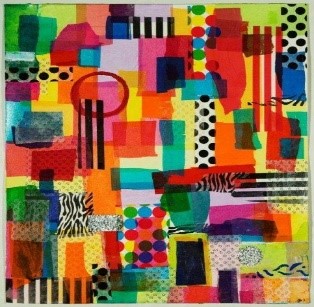
Make a Collage Summary: Students will use torn and cut up pieces of magazine pages, junk mail, papers, old calendars, newspapers, bags---- any kind of paper to create colorful (and in some cases, complex) paper mosaics and collages. About Mosaics Mosaics are made of tiny colored pieces of stone, pottery, glass or other materials, arranged together and set in plaster or cement to make patterns and images. They can be used to decorate a floor, a wall or in some cases a ceiling. Mosaics have a long history. They were created in Ancient times in Babylon, Egypt, Greece and Rome. About Collages A piece of art made by sticking various different materials such as photographs and pieces of paper or fabric on to a backing. What You Need:
What You Do: Cut out small pieces of magazines or photos. Select related colors and start piles of reds, greens, blues etc. Draw a picture or design onto the paper you can look on the internet for inspiration, don’t make your design too complicated---you can always add details as you go. This is also a great activity to repeat with a different image. Think of it as painting with paper! Most of all have fun being creative and experimenting with materials. |
